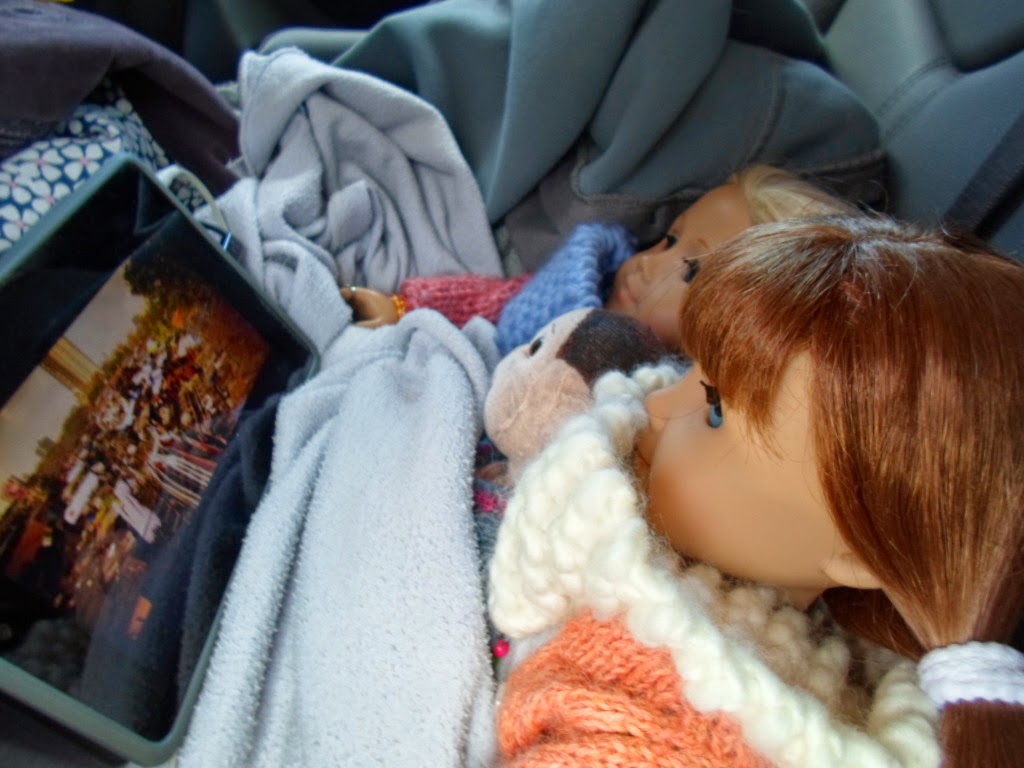
Hey guys, so a few days ago I got the news that Isabelle Palmer was going to come and live in our house and I was super excited!!! I asked whether I could do anything to help get ready for her arrival and was told that she needed some covers for her bed. I said that I would do my best to sew some for her and then just got on with it.
Here are the steps I went through:
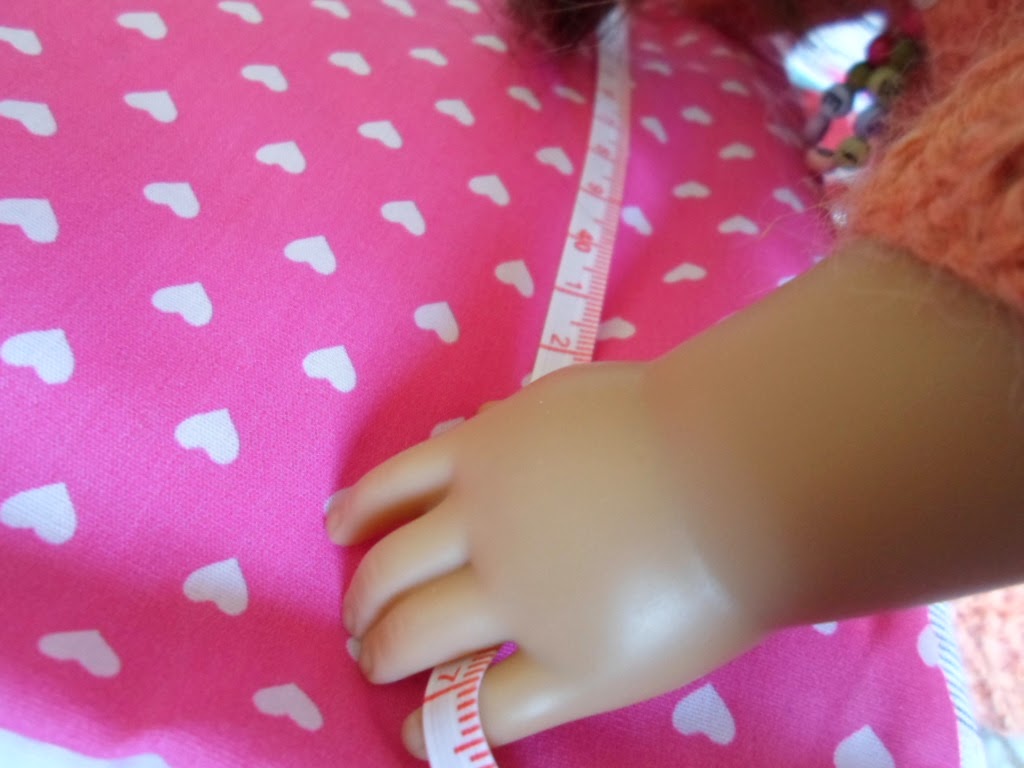
1. I measured the duvet to see how big I needed to make the cover...
2. I measured it to be 6cm wide and 39 cm long. I then added another 7cm to the length so that there would be some cover left to tuck underneath the mattress.
3. Then I measured the pillow so I knew the measurements for the pillow slip...
4. It measured 18cm wide and 9cm high. I then added a couple of cm on to the width as on pillow slips you find in the store they are usually a bit wider then the actual pillow.
5. After I measured I had to cut the pieces of material - which was hard as the duvet piece was bigger then I was!
6. Then I pinned the hem of the duvet cover..
7. ... and the pillow slip.
8. Some of the pins were quite stiff.
9. Then while I was waiting for the sewing machine was free (some else in the house was using it!) I hand sewed two animal pillows.
10. I made a dog and a cat.. the cat needed a face though as if it didn't it looked weird.
11. So I got out my threads and decided to use a lilac thread for the cat's face.
12. I threaded my needle and started sewing...
13. First I sewed on it's nose and mouth...
This is how it turned out - pretty good hey?!
14. Then I sewed on the eyes.
This is the finished face.
Here are the two finished pillows - sooooo cute!!! I think I'm going to have make some for myself.
15.Finally I got to use the sewing machine and started to sew the hem on the pillow slip.
16. Then I sewed the hem on the duvet cover.
17. After I finished the hems I sewed the pillow slip and duvet cover.
18. Then I put the pillow slip on the pillow...
19. ...and the duvet cover.
20. I put the pillow and duvet on the bed...
21. ... not forgetting to tuck the tail of the duvet cover under the mattress...
22. ... placed the cat and dog pillows on the bed with Isabelle's stripy bunny.
23. Finally her bed was finished. What do you think?
I had so much fun making Isabelle's covers, it had made me even more excited for her arrival - but I have to wait around 2 more weeks!!! Though I'm sure I can find some things to keep me busy while I'm waiting.
I'm going to Weobley for the Easter weekend, so I will have plenty of adventures to share with you when I come back.
Forever Eloise xx